Getting Started with Hugging Face ML Intern: Your First ML Agent
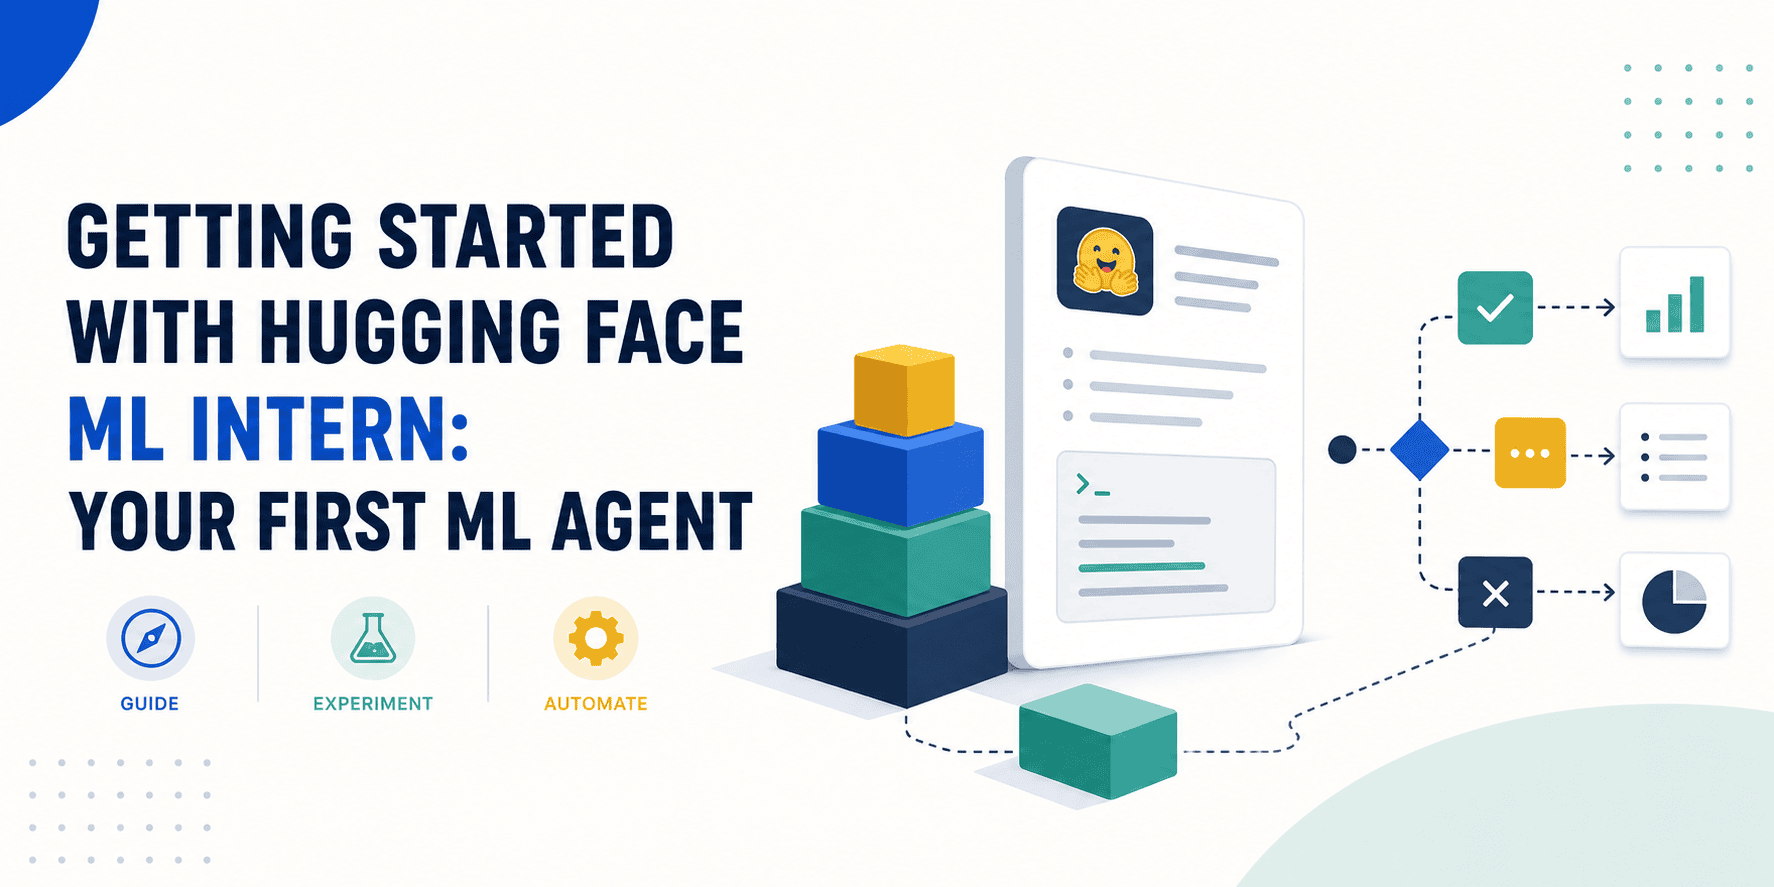
# Getting Started With ML Intern
Have you ever gotten stuck in that familiar situation where you have a model idea, but the gap between “I read the paper” and “I have a trained checkpoint on the Hub” still eats up an entire weekend? ML Intern is Hugging Face‘s attempt to shrink that gap. It is an open-source command-line interface (CLI) agent from Hugging Face that lets you describe machine learning tasks in plain English.
Instead of manually piecing everything together, you can ask it to fine-tune a model, explore a research paper, or start a training run. It handles the kind of work a junior machine learning engineer would usually do: reading docs, searching GitHub, writing scripts, kicking off jobs, checking results, and iterating.
It is built on the Hugging Face stack end to end. It can search papers on the Hub and arXiv, work with datasets, launch graphics processing unit (GPU) training jobs using HF Jobs, log experiments with Trackio, and publish trained models back to the Hub when everything is done. Under the hood, it uses the smolagents framework and routes model calls through Hugging Face Inference Providers or local endpoints if you would rather not burn API credits.
It is less like “ChatGPT for code” and more like a research intern who actually has shell access and a Hugging Face account. The repository is huggingface/ml-intern. You can experiment with it, adapt it to your needs, or even make it part of your continuous integration (CI) workflow.
# Understanding Why ML Intern Helps
Real machine learning research is not linear. You read something, chase a citation, find a dataset that almost fits, rewrite the data loader twice, train, realize your evaluation was wrong, fix it, and train again. ML Intern is designed to automate much of this repetitive work so you can focus on research decisions instead of repeatedly writing setup code.
Unlike traditional chatbots, it does not stop after generating one answer. Instead, it follows an iterative workflow.
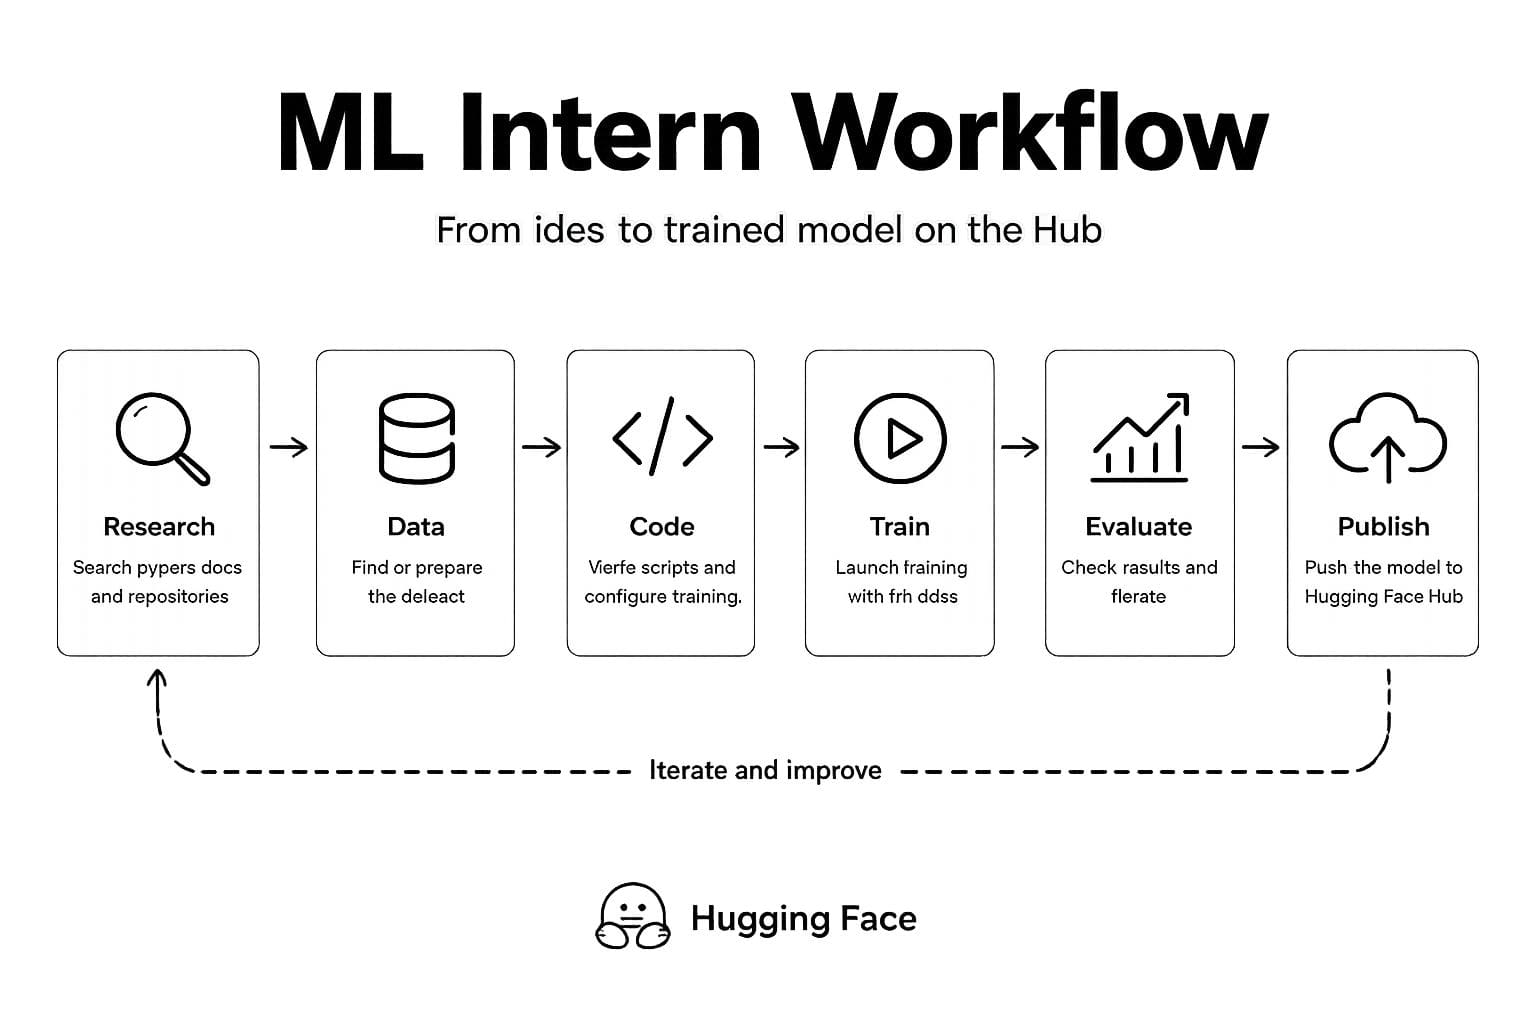
The ML Intern workflow loop
Hugging Face published results showing the agent improving from about 10% to about 32% on GPQA, a benchmark for scientific reasoning, in under 10 hours on a small Qwen model. Whether or not you care about that specific benchmark, it still gives you a good sense that this is not a toy that writes one script and stops. It is built to keep going.
That is enough background to understand why the project exists. Now it is time to use it, but first, make sure you have the required setup in place.
# Checking the Prerequisites
You will need a Hugging Face account, Python, uv, and a few tokens.
| Token | Why Is It Needed? | Recommended Permission |
|---|---|---|
HF_TOKEN | Access the Hugging Face Hub, Inference Providers, GPU sandboxes, and training jobs. | Write (recommended) or Read if you only plan to explore and will not upload anything |
GITHUB_TOKEN | Search public GitHub repositories when the agent looks for reference implementations. | Fine-grained token with read-only access to public repositories |
If you skip HF_TOKEN, the CLI will ask for one on first launch unless you are running a fully local model. If you are unsure how to create either token, check the official guides for Hugging Face Access Tokens and GitHub Personal Access Tokens.
# Installing ML Intern
Copy and run the following commands.
git clone git@github.com:huggingface/ml-intern.git
cd ml-intern
uv sync
uv tool install -e .
Once that is done, ml-intern works from any directory. A quick sanity check:
Add the following to your .env file, or export equivalent variables in your shell.
HF_TOKEN=hf_your_token_here
GITHUB_TOKEN=ghp_your_token_here
# Comparing Interactive and Headless Modes
Before starting your first run, it helps to understand the two modes the agent supports.
// Using Interactive Mode
Run the following command to launch your machine learning agent.
This opens a chat session. You can describe what you want, the agent plans the steps, asks for approval before risky operations, and keeps you updated as it works. You can even swap models mid-conversation with:
Some good prompts for a beginner are:
- “Find a small classification dataset on the Hub and show me how to load it with the datasets library.”
- “Summarize this paper and list what datasets it uses: [arXiv link].”
- “Write a minimal low-rank adaptation (LoRA) fine-tuning script for
Qwen2.5-0.5Bon a tiny public dataset. Do not launch training yet, just write the script.”
// Using Headless Mode
ml-intern "fine-tune llama on my dataset"
This mode uses a single prompt and auto-approves actions. The agent runs until it finishes or hits the iteration limit. This is the mode you would drop into a GitHub Action for nightly experiments.
Some useful flags once you are comfortable:
ml-intern --max-iterations 100 "your prompt"   # cap the budget
ml-intern --no-stream "your prompt"            # cleaner output for CI logs
ml-intern --sandbox-tools "test this in a GPU sandbox"
ml-intern --model moonshotai/Kimi-K2.7-Code:novita "your prompt"
If you are just getting started, try interactive mode first. Once you are comfortable, switch to headless mode for automation.
# Starting Your First Run
Use the same prompt in both modes so you can see how they differ. We will start with a small task that does not involve training. The goal is simply to find a dataset on the Hugging Face Hub and write a loader script.
The prompt:
Find the rotten_tomatoes dataset on the Hub and write a short Python script that loads it with datasets and prints the first example. Save it to load_dataset.py. Do not run training.
Make sure your .env file includes both HF_TOKEN and GITHUB_TOKEN before you begin.
// Running in Interactive Mode
You open a chat session, type the prompt, watch it work, and follow up if needed.
Run this command:
Then type your prompt at the > prompt:
Find the rotten_tomatoes dataset on the Hub and write a short Python script that loads it with datasets and prints the first example. Save it to /tmp/load_dataset_interactive.py. Do not run training.
Output:
Initializing agent runtime...
 User: kanwal8008
 Model: zai-org/GLM-5.2:novita
 Tool runtime: local filesystem
 Tools: 25 loaded
/help for commands · /model to switch · /quit to exit
Ready. Let's build something impressive.
> Find the rotten_tomatoes dataset on the Hub and write a short Python script that loads it with datasets and prints the first example. Save it to /tmp/load_dataset_interactive.py. Do not run training.
The dataset is cornell-movie-review-data/rotten_tomatoes. It has a single default config with train/validation/test splits, columns are text and label. Writing the script now.
▸ write {"content": "\"\"\"Load the rotten_tomatoes dataset from the HF Hub and print th..."}
Done. The script is saved to /tmp/load_dataset_interactive.py.
What it does:
 - Loads cornell-movie-review-data/rotten_tomatoes via datasets.load_dataset
 - Prints the list of splits (train, validation, test)
 - Prints the first training example (a {"text": ..., "label": ...} dict)
Dataset details:
 - Columns: text (movie review sentence), label (0 = negative, 1 = positive)
 - ~10.6k examples total (5,331 positive / 5,331 negative)
You can run it locally with:
 python /tmp/load_dataset_interactive.py
> /quit
Bye.
File it created (/tmp/load_dataset_interactive.py):
"""Load the rotten_tomatoes dataset from the HF Hub and print the first example."""
from datasets import load_dataset

# Load the full dataset (all splits) from the Hub
ds = load_dataset("cornell-movie-review-data/rotten_tomatoes")

print("Dataset splits:", list(ds.keys()))
first_train = ds["train"][0]
print("First training example:")
print(first_train)
print("\nLabel meaning: 0 = negative, 1 = positive")
Interactive mode gives you more context as it works, including dataset details, what the script does, and how to run it. You can also ask follow-up questions before typing /quit.
// Running in Headless Mode
One command, the agent runs from start to finish, then exits.
Run this command:
ml-intern --max-iterations 15 --no-stream \
"Find the rotten_tomatoes dataset on the Hub and write a short Python script that loads it with datasets and prints the first example. Save it to /tmp/load_dataset.py. Do not run training."
Output:
HF token loaded
Model: zai-org/GLM-5.2:novita
Tool runtime: local filesystem
Max iterations: 15
Prompt: Find the rotten_tomatoes dataset on the Hub and write a short Python script that loads it with datasets and prints the first example. Save it to /tmp/load_dataset.py. Do not run training.
---
▸ hf_inspect_dataset {"dataset": "cornell-movie-review-data/rotten_tomatoes", "sample_rows": 1}
▸ write {"content": "from datasets import load_dataset\n\ndataset = load_dataset(\"rotte..."}
▸ bash {"command": "cd /tmp && python load_dataset.py", "description": "Run the dataset..."}
Done. The script is saved at /tmp/load_dataset.py and verified working. It loads the rotten_tomatoes dataset (dataset ID: cornell-movie-review-data/rotten_tomatoes) via datasets.load_dataset and prints the first training example:
 {'text': 'the rock is destined to be the 21st century\'s new " conan " ...',
 'label': 1}
The dataset has two columns -- text (the review) and label (0 = negative, 1 = positive) -- across train (8,530 rows), validation (1,066), and test (1,066) splits.
--- Agent turn_complete (history_size=9) ---
File it created (/tmp/load_dataset.py):
from datasets import load_dataset
dataset = load_dataset("rotten_tomatoes", split="train")
print(dataset[0])
Headless mode auto-approves everything. This is useful when you know what you want and do not need to steer the run in the middle.
# Running ML Intern With Local Models
If you would rather not use Hugging Face Inference Providers or pay for API usage, ML Intern can also work with locally hosted models. Instead of downloading and loading model weights itself, ML Intern connects to an OpenAI-compatible server that is already running on your machine.
That means you can use popular local inference frameworks such as:
For example, if you are using Ollama, you can run:
ml-intern --model ollama/llama3.1:8b "Summarize the README in this repository."
Or, if you are running a model with vLLM:
ml-intern --model vllm/meta-llama/Llama-3.1-8B-Instruct "Your prompt"
If your local model server is running on a custom endpoint, you can configure it with environment variables:
LOCAL_LLM_BASE_URL=
LOCAL_LLM_API_KEY=optional-if-your-server-requires-it
Some providers also support their own environment variables. For example, if you are using Ollama, you can set OLLAMA_BASE_URL, which takes precedence over the generic LOCAL_LLM_BASE_URL. One important thing to keep in mind is that a tiny local model will struggle with multi-step training pipelines. It is fine for exploration and script drafting, but for serious agent loops, you will want something with more reasoning headroom.
# Understanding How ML Intern Works
You do not need to memorize the architecture, but it helps to know why the agent sometimes pauses and asks you to approve something. The agent runs an iterative loop of up to 300 turns by default. The flowchart below gives a rough idea of what happens on each call.

How ML Intern processes each call
One of ML Intern’s biggest strengths is the number of tools it can use out of the box. Built-in tools cover the HF ecosystem, including docs, datasets, repositories, papers, and jobs, plus GitHub search, local file operations, planning helpers, and anything you attach through Model Context Protocol (MCP). There is even a doom loop detector that catches repeated tool calls with the same arguments, which is a familiar problem if you have used coding agents before.
Every session can auto-upload to a private dataset on your Hub account ({username}/ml-intern-sessions) in a format the Agent Trace Viewer understands. These traces are especially useful for debugging because they let you inspect every reasoning step the agent took. If something goes wrong, you can open the session in the Agent Trace Viewer and see exactly where the agent made a poor decision.
You can also control how traces are shared during a session:
/share-traces private
/share-traces public
Or you can disable trace uploads entirely through the configuration file if you do not want to save session history.
# Avoiding Common Mistakes
- Be specific with your prompts. “Fine-tune llama” is vague. “Fine-tune
meta-llama/Llama-3.2-1Bonimdbwith LoRA, max 1 epoch, do not push to Hub” is better. - Watch the approvals. Training jobs cost money. Sandboxes cost money. The agent will ask, so do not blindly approve everything on your first run.
- Set
--max-iterationsif you are experimenting. The default limit of 300 iterations is great for complex tasks but can waste compute during testing. - Check your traces. When something strange happens, your private session dataset on the Hub is the black box recorder.
# Taking the Next Steps
ML Intern will not replace your judgment. You still need to read the training logs, sanity-check the evaluation, and decide whether 32% on GPQA is actually what you wanted. But if you have ever stared at a blank train.py wondering where to start, having an intern who already knows the Hub is a strong first step.
Run ml-intern, give it something small, and see what it does. That is the game at the beginning. A few practical next steps:
- Explore the GitHub repository. Browse the source code, check out examples, and stay current with new features and improvements.
- Create your own custom tools. ML Intern is built to be extensible. You can add your own tools by modifying the
agent/core/tools.pyfile and reinstalling the package:
uv tool install -e . --force
- Connect MCP servers. If you are using MCP, you can attach external tools and services by updating the
configs/cli_agent_config.jsonfile. Environment variables such as${YOUR_TOKEN}are automatically loaded from your.envfile. - Enable Slack notifications. Set
SLACK_BOT_TOKENandSLACK_CHANNEL_IDif you want ping-when-done alerts.
Kanwal Mehreen is a machine learning engineer and a technical writer with a profound passion for data science and the intersection of AI with medicine. She co-authored the ebook “Maximizing Productivity with ChatGPT”. As a Google Generation Scholar 2022 for APAC, she champions diversity and academic excellence. She’s also recognized as a Teradata Diversity in Tech Scholar, Mitacs Globalink Research Scholar, and Harvard WeCode Scholar. Kanwal is an ardent advocate for change, having founded FEMCodes to empower women in STEM fields.